
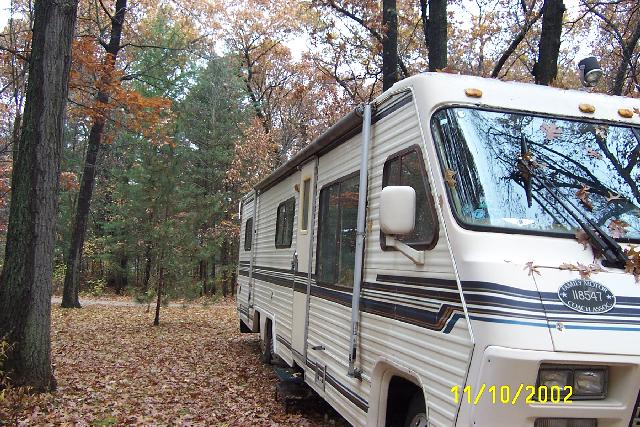
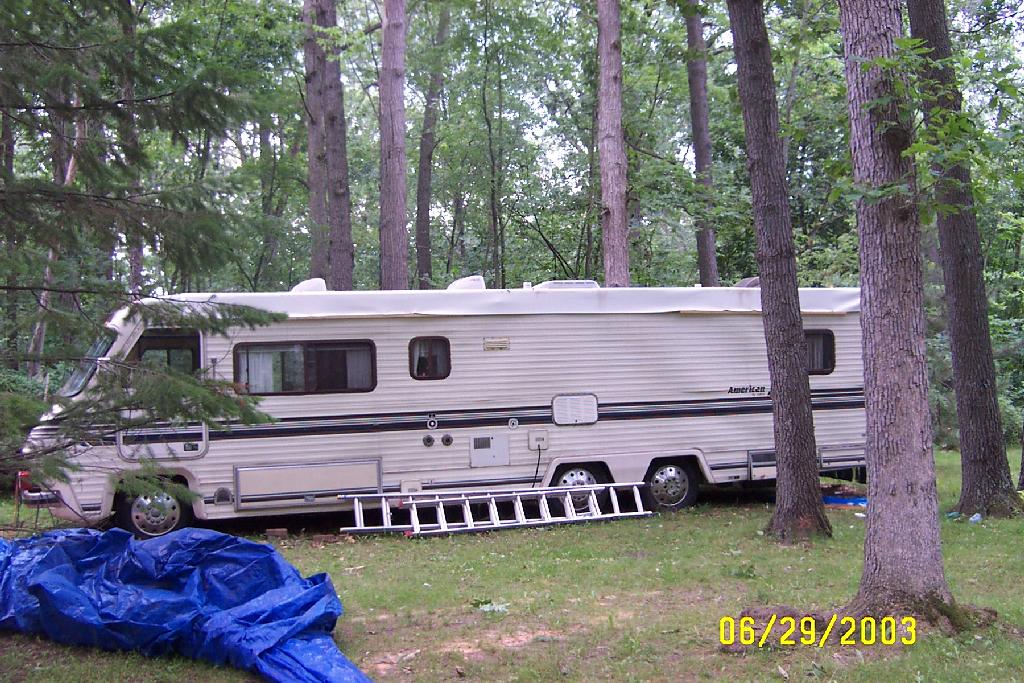
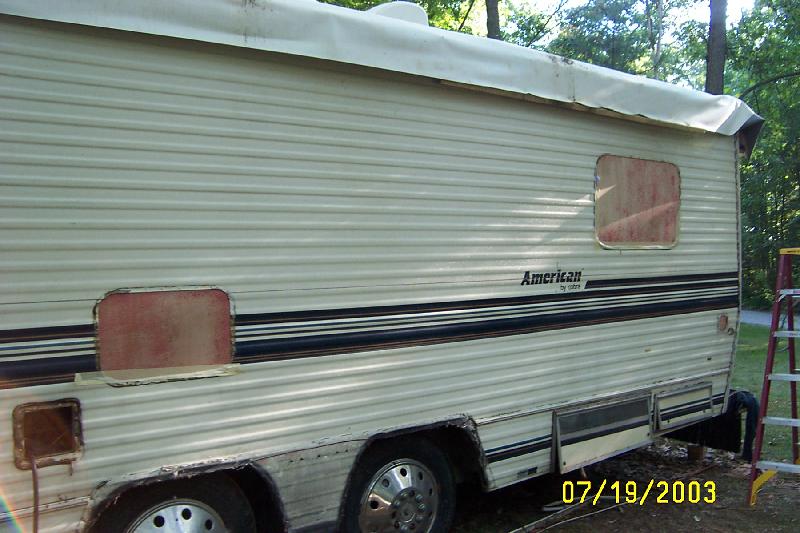
Got this at an auction for a Good Deal!
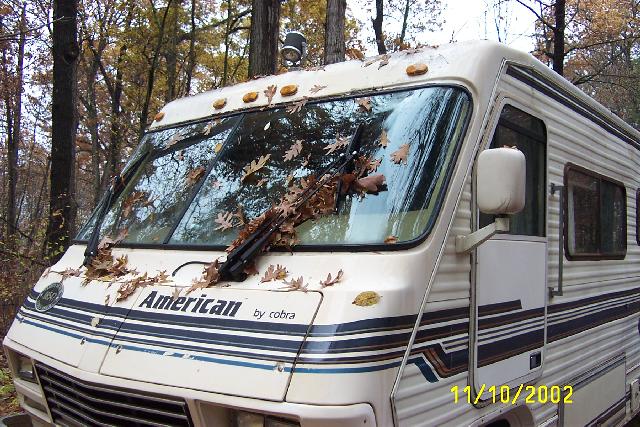
37 foot American made by Cobra. 1987 with 42,000 miles on it. Full bath with shower, stove (4 burners & oven), full size fridge (gas or electric), bar, heater, TV antenna 454 Engine (Gas). Dual Batteries Tandem axel New Tires.
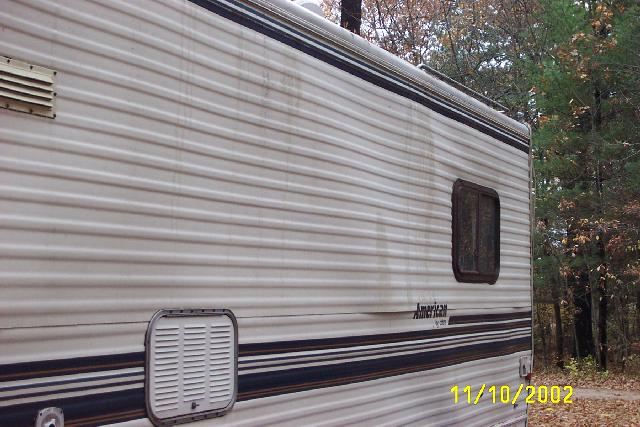
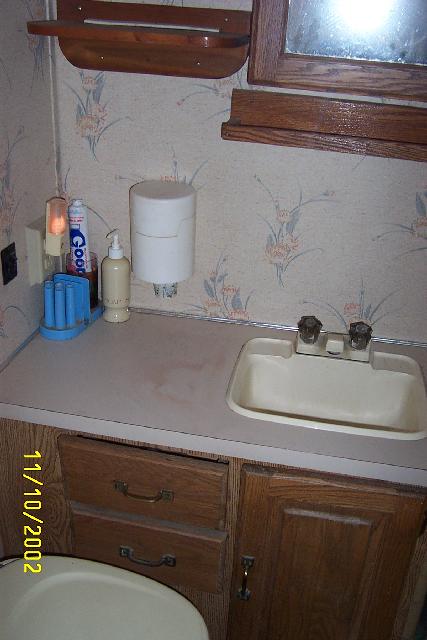
Little water damage on the side but will be repaired..
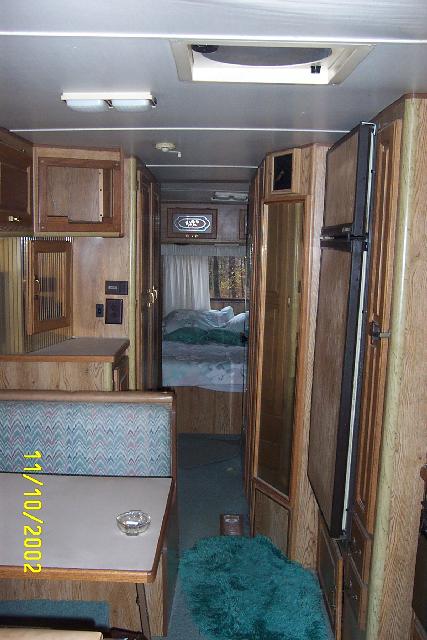
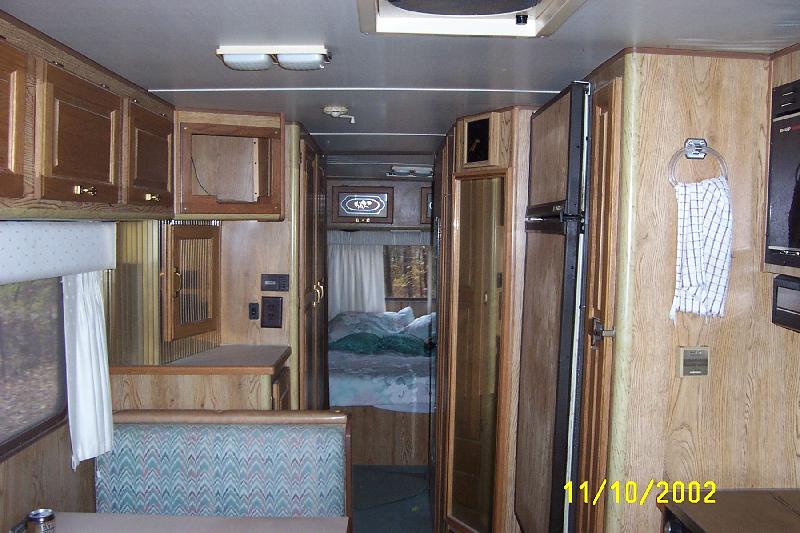
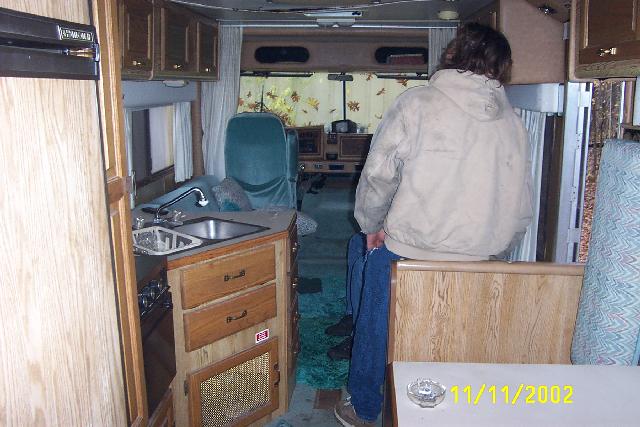
Inside with a Fridge, stove, oven, and bar.
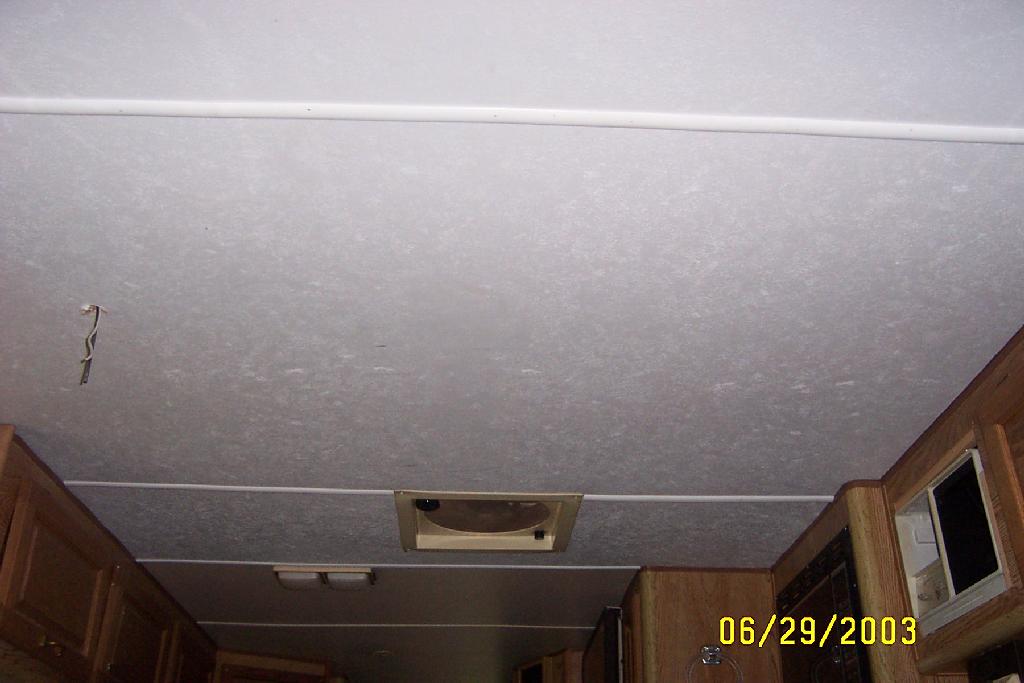
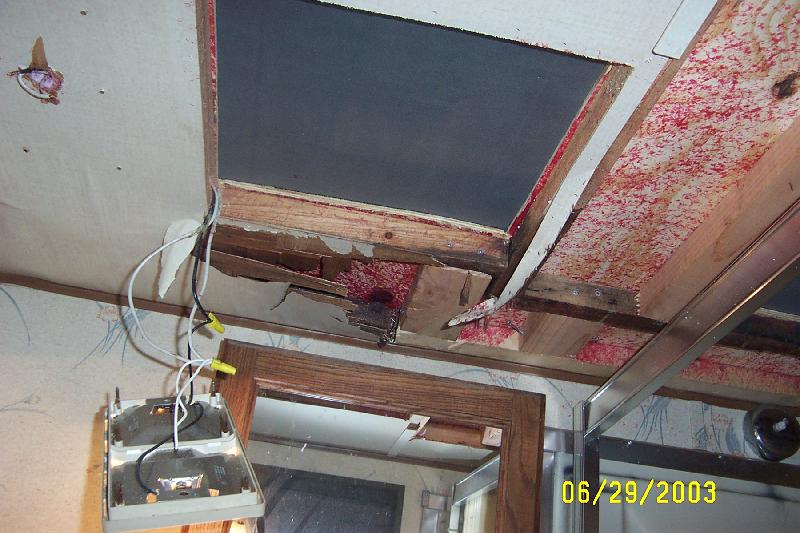
Little water damage in the kitchen area.
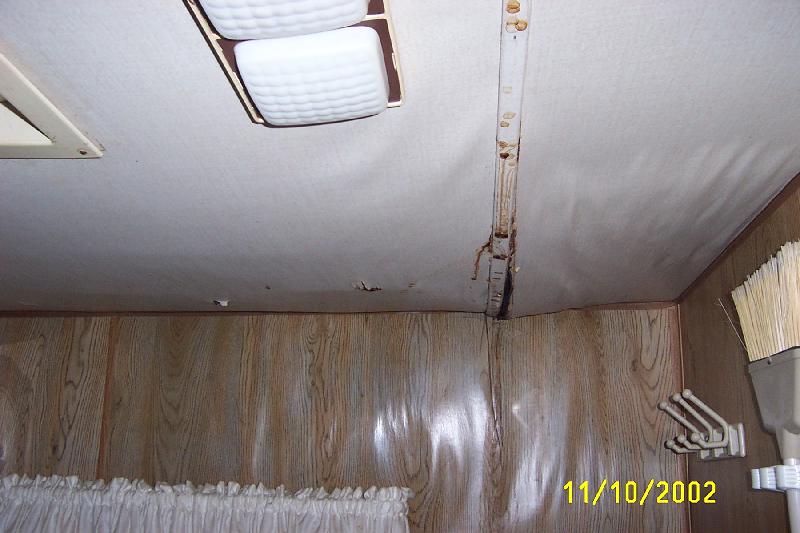
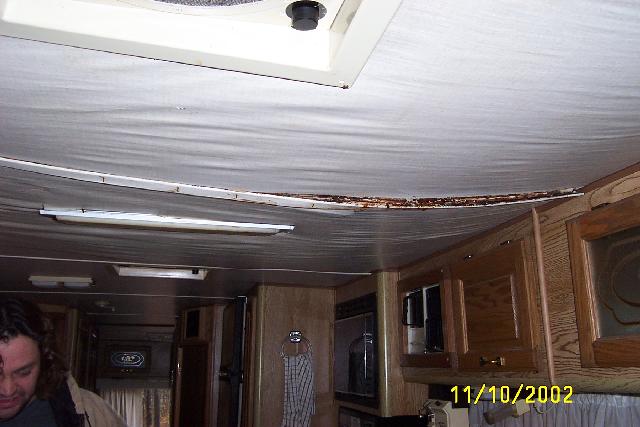
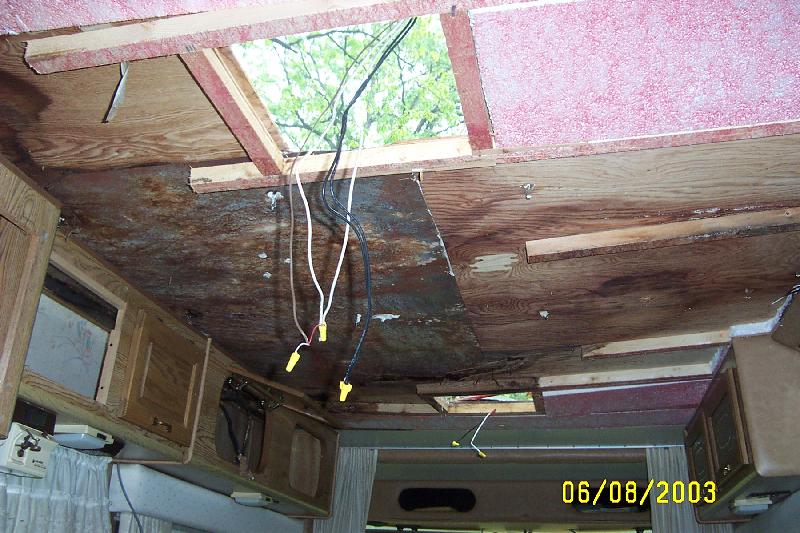
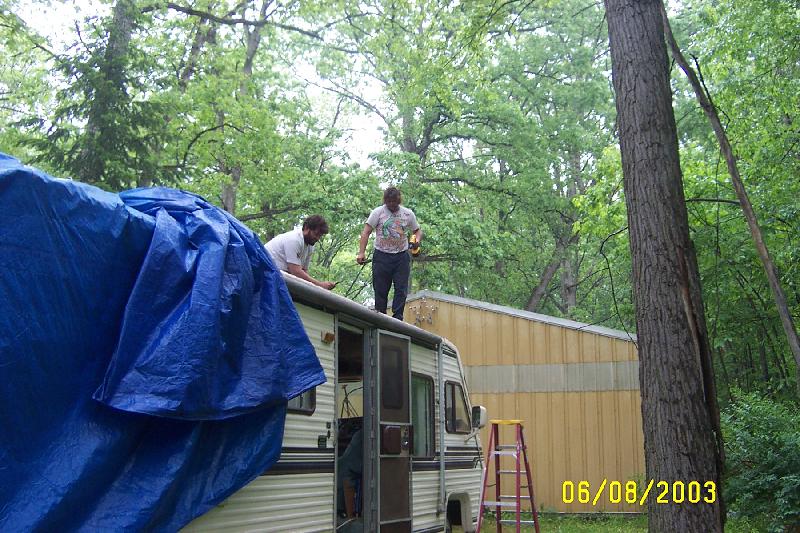
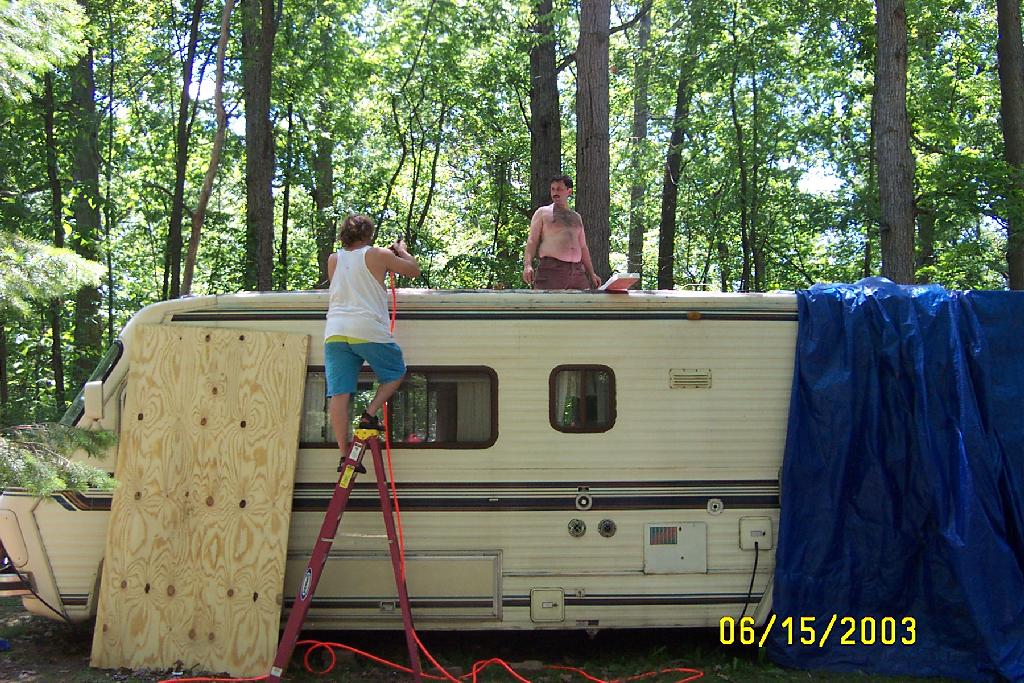
Water damage on the roof and side wall
J.R. Trailor Repair Master
Hoss

Bob
![]()
Before
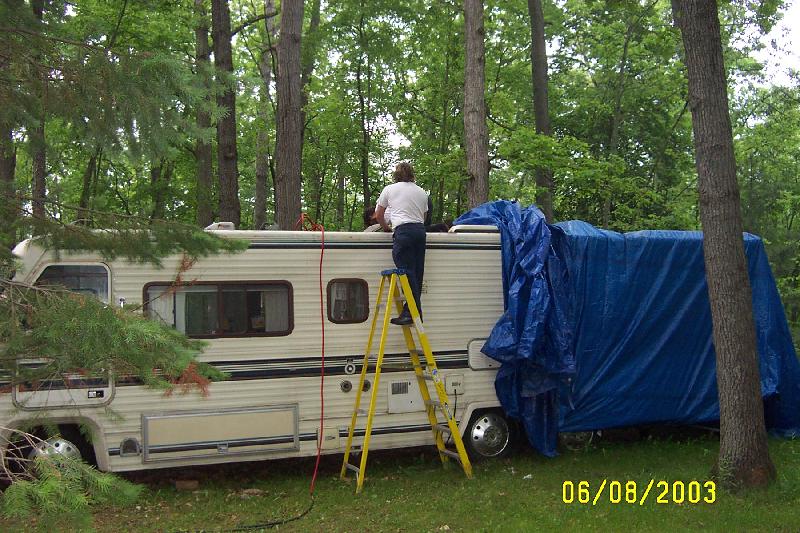

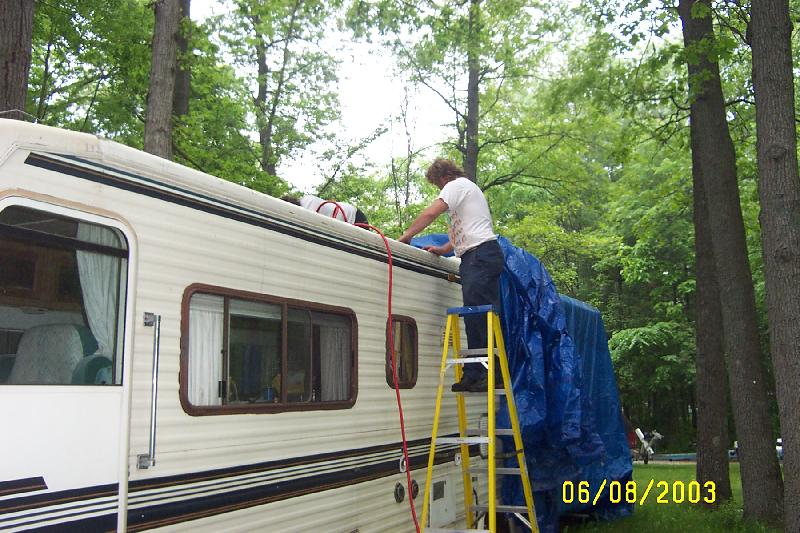

JR the RV Man!
![]()
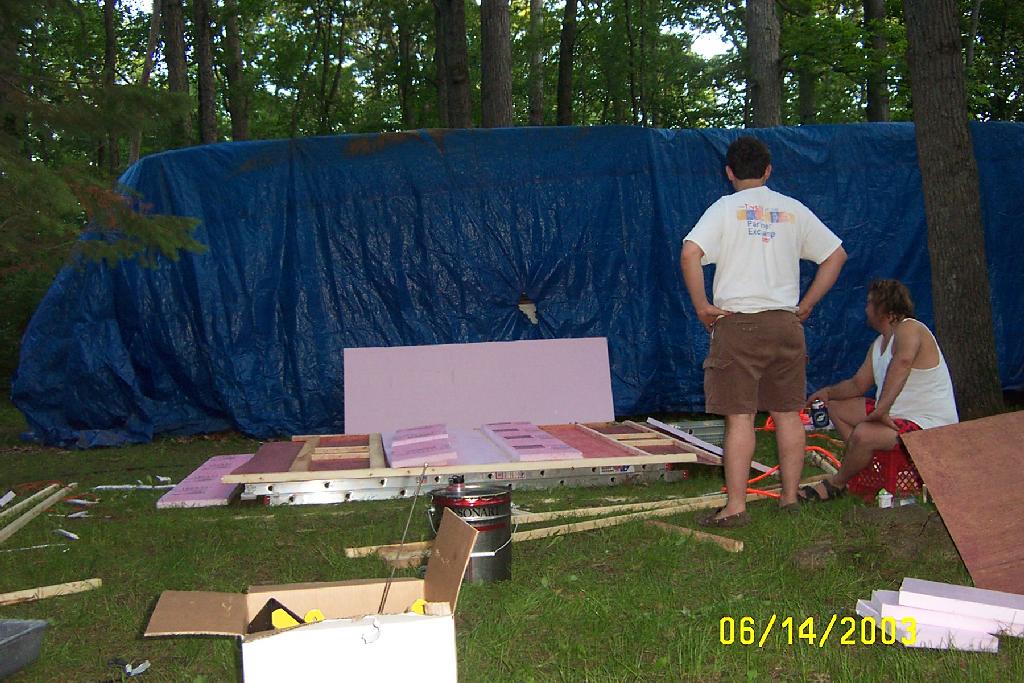
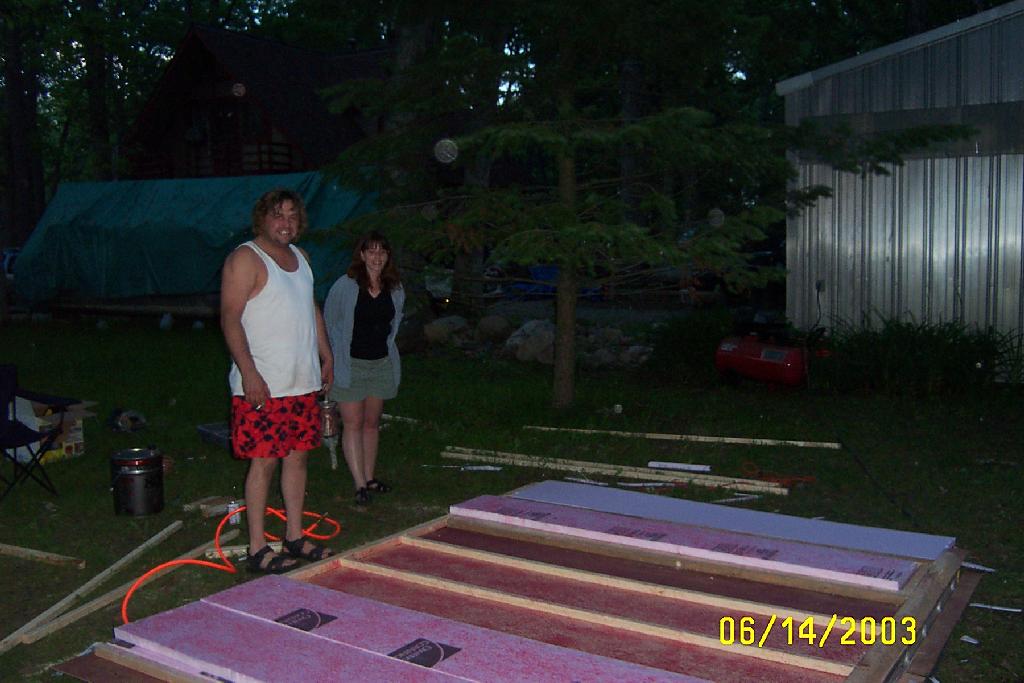
This is the first section from the kitchen. The paneling is placed on the bottom then you glue the frame to the paneling. Then we flipped the frame and glued the insulation into the frame.
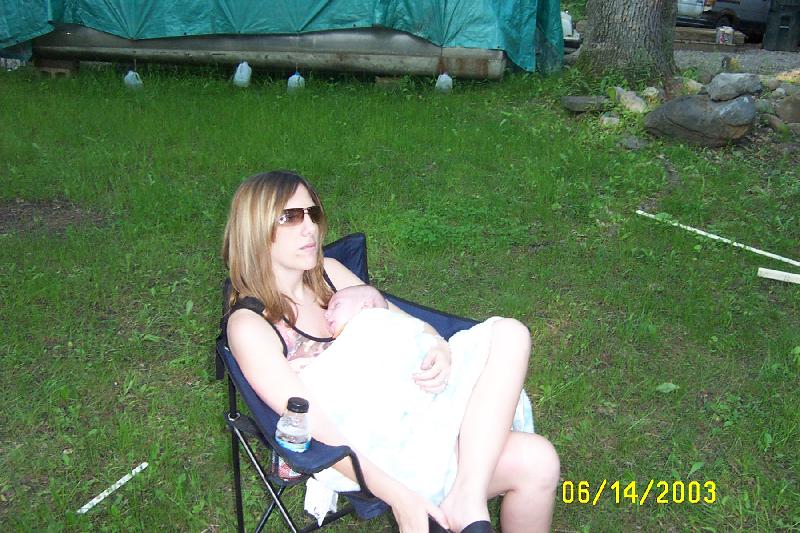
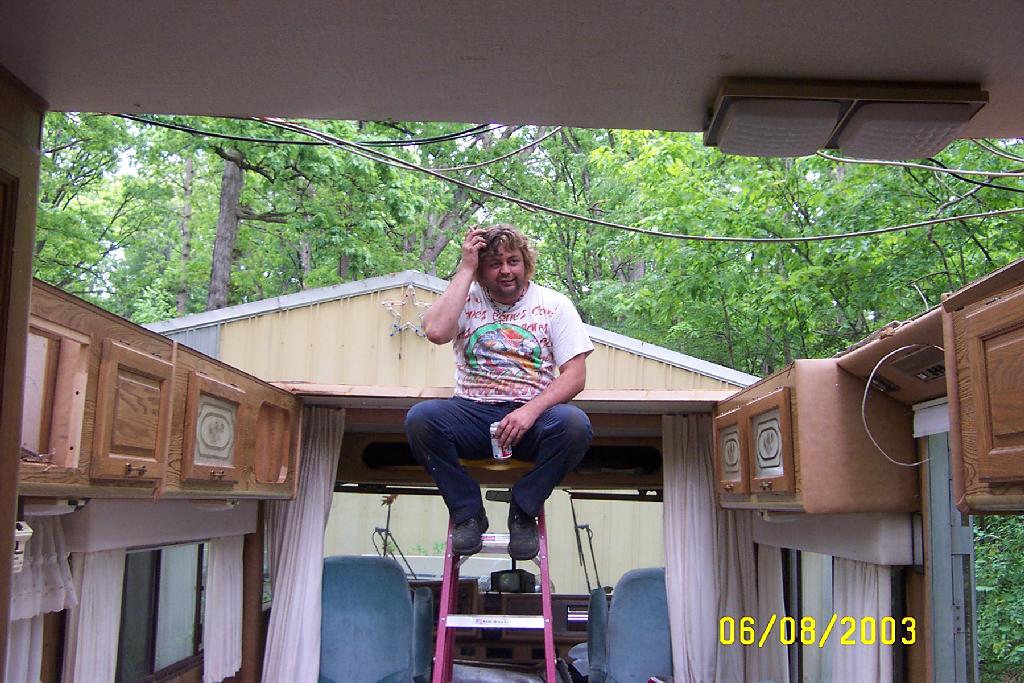
Little T gets and Mom watch it come back together.
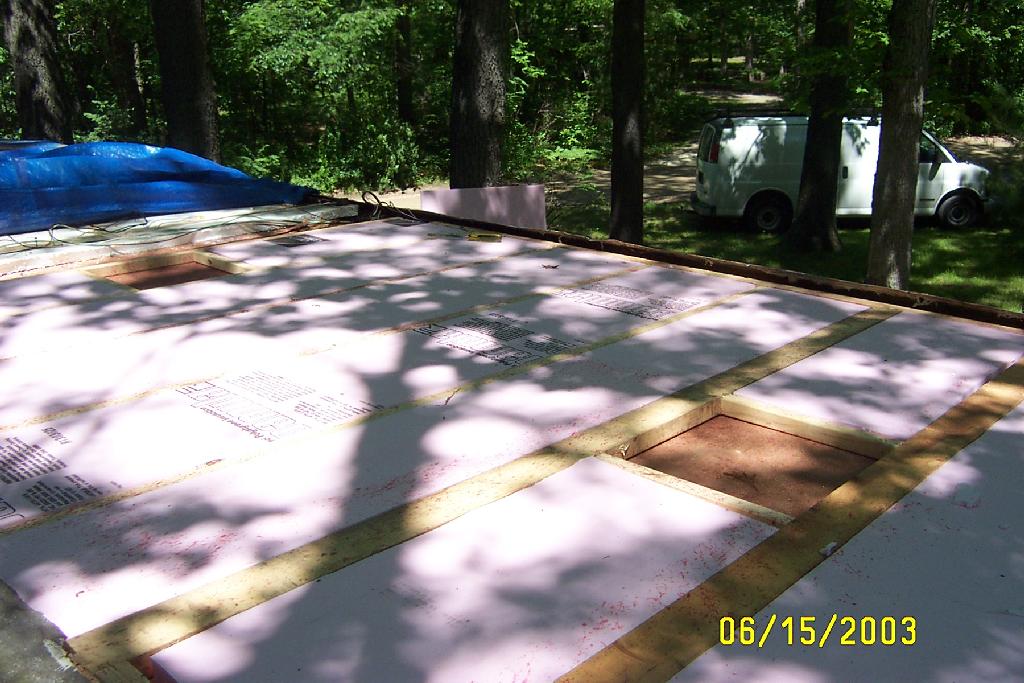
Then toss the frame into place bada bing.
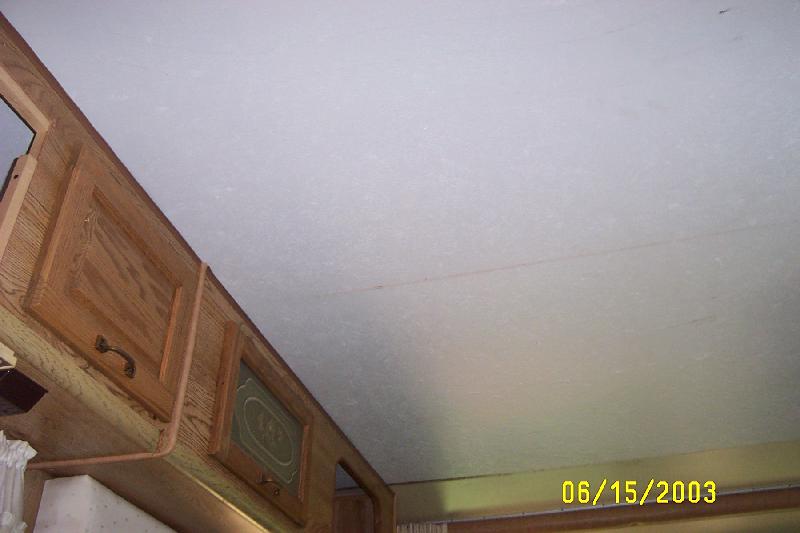
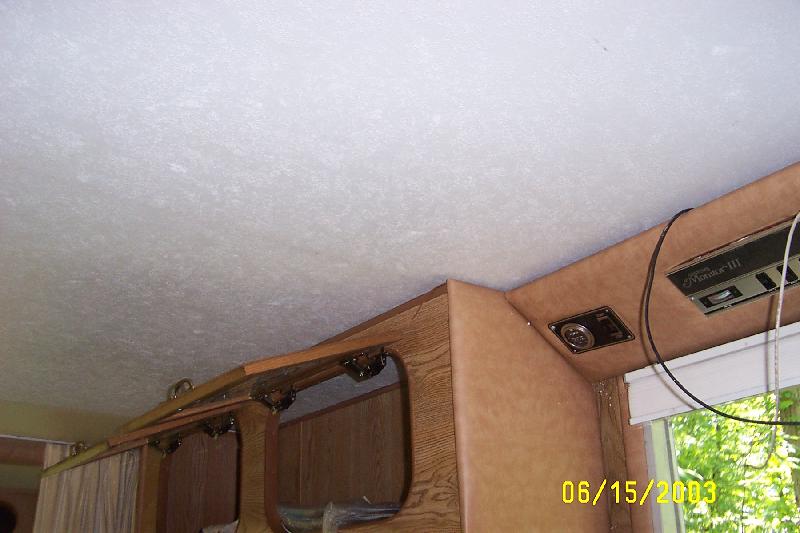
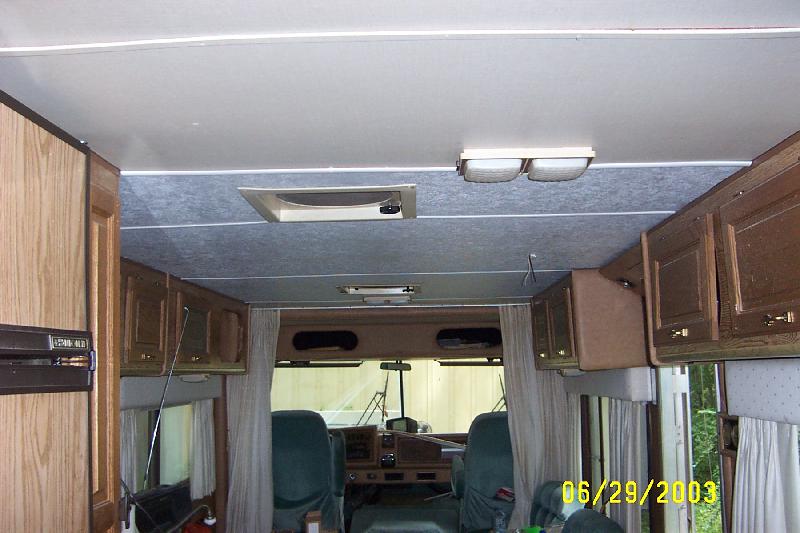
The new ceiling!!
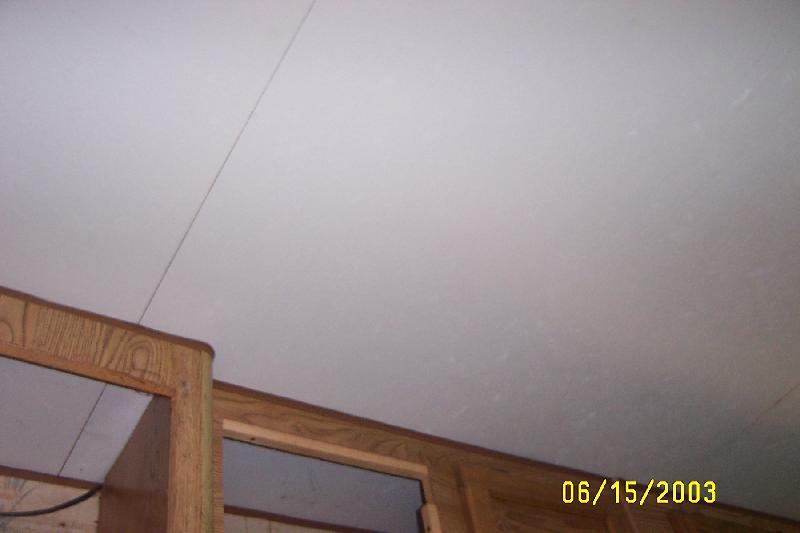
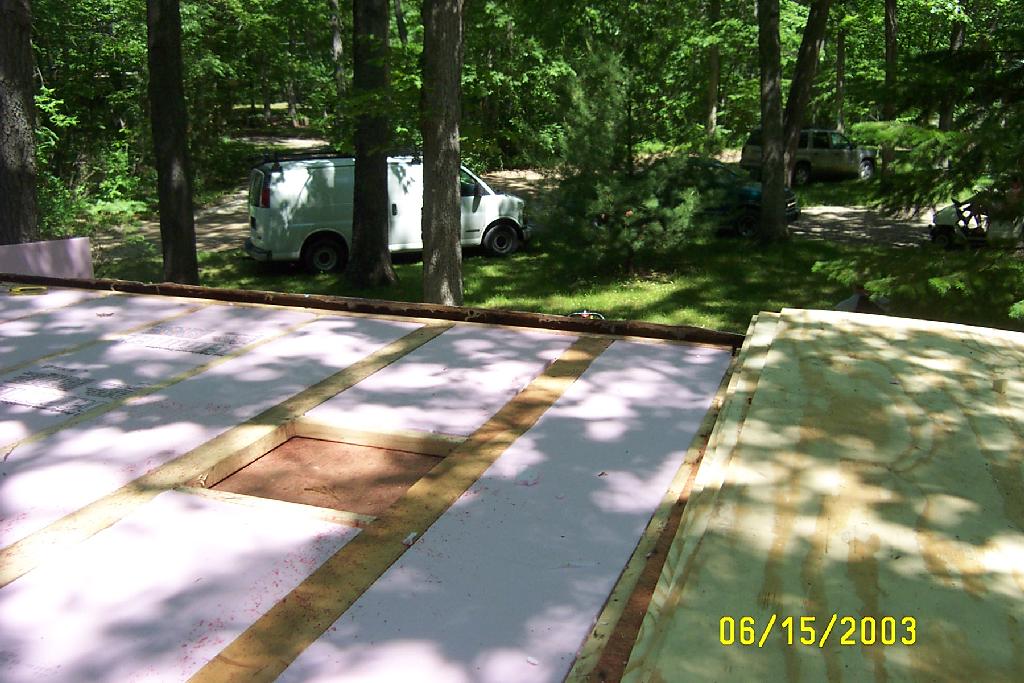
Little trimming for the back section.
The plywood needs to be glued to the frame.
Short weekend but progress was made.
![]()
Before
After we fixed it
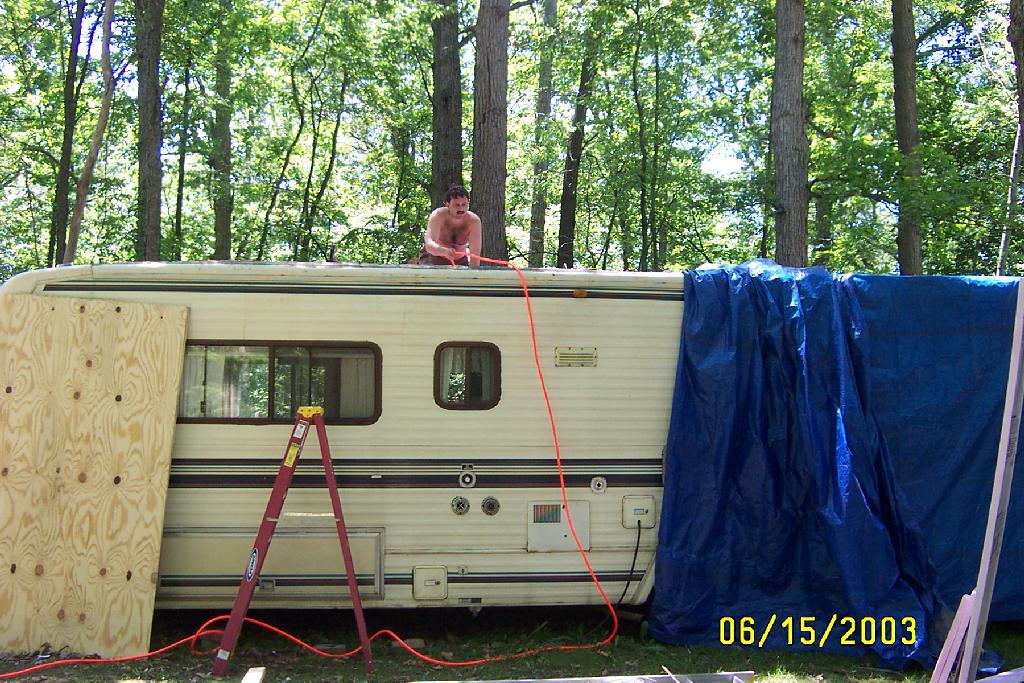
This is a picture with the new rubber roof on the motor home. The rubber still needs to be trimmed and tucked.
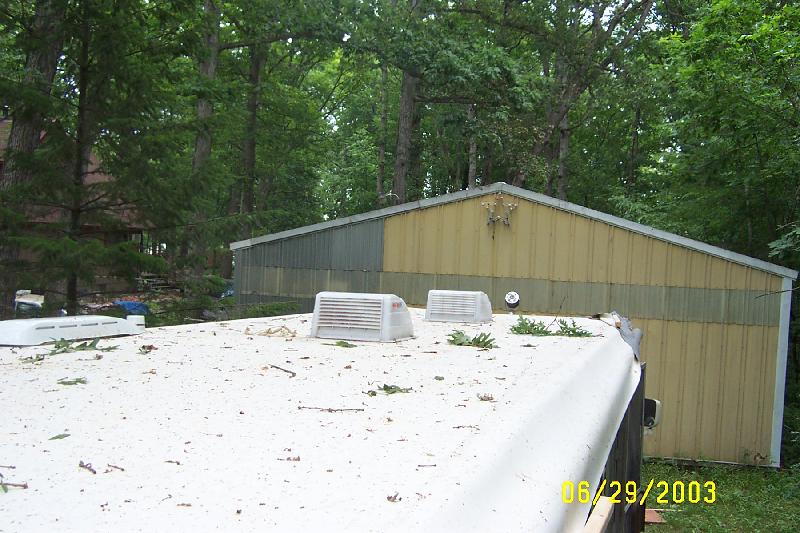
Picture from the top of the roof. The Rubber is dirty because there are a lot of trees debris in the area.
New Kitchen.
The next project is the sidewall replacement.


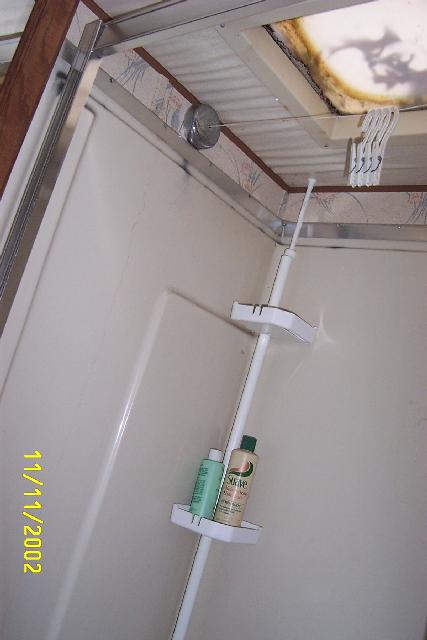
Sunroof in the shower of the bathroom.
The BEFORE bathroom picture. The bathroom was completed on July 7th 2003 missing a picture for that.
![]()
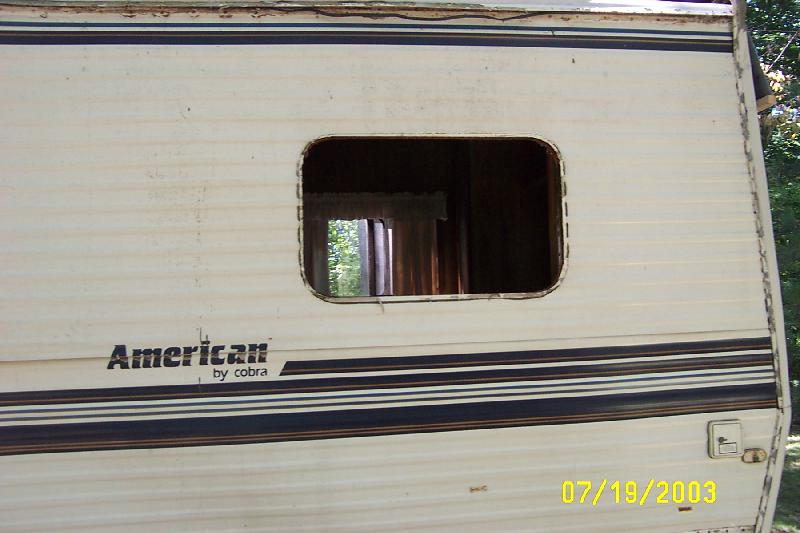
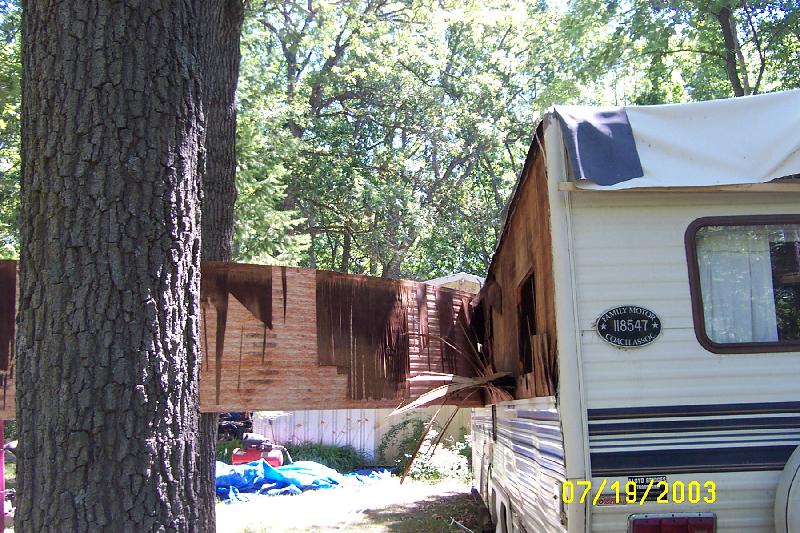
First Take the window out
Second remove the vents and start to lift the filon off the RV
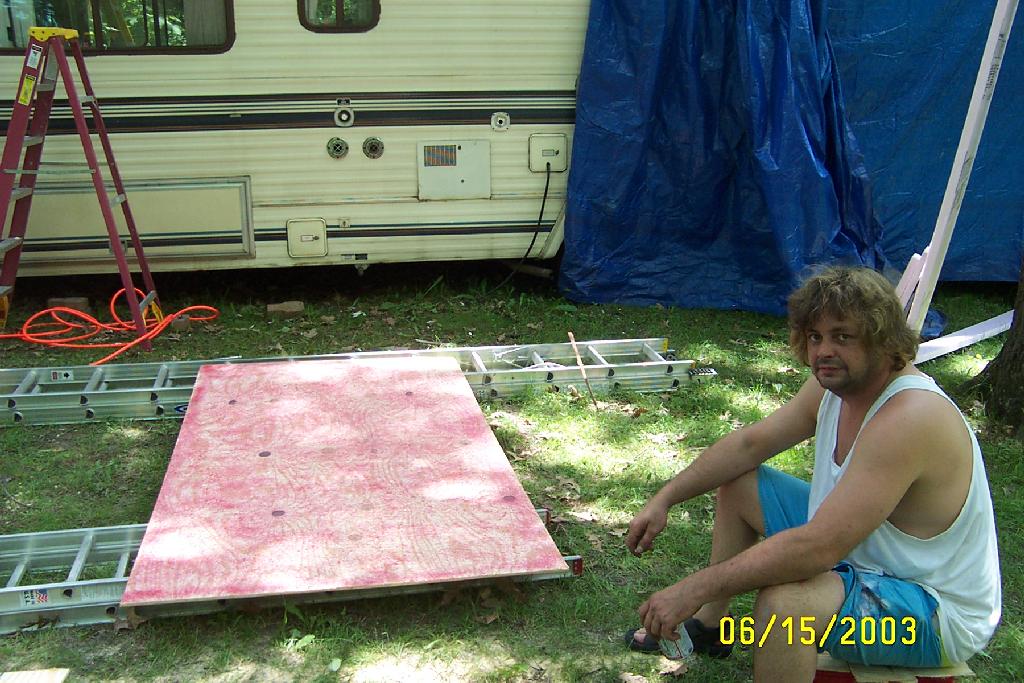
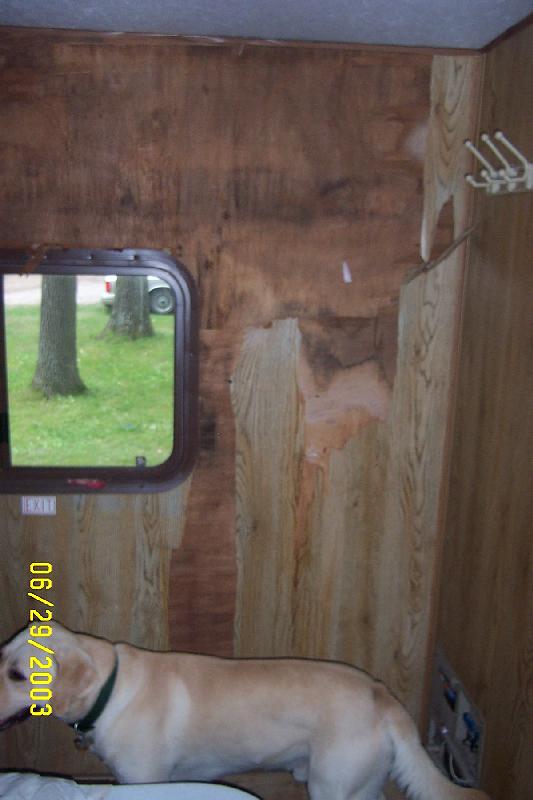
Little bit of water damage?
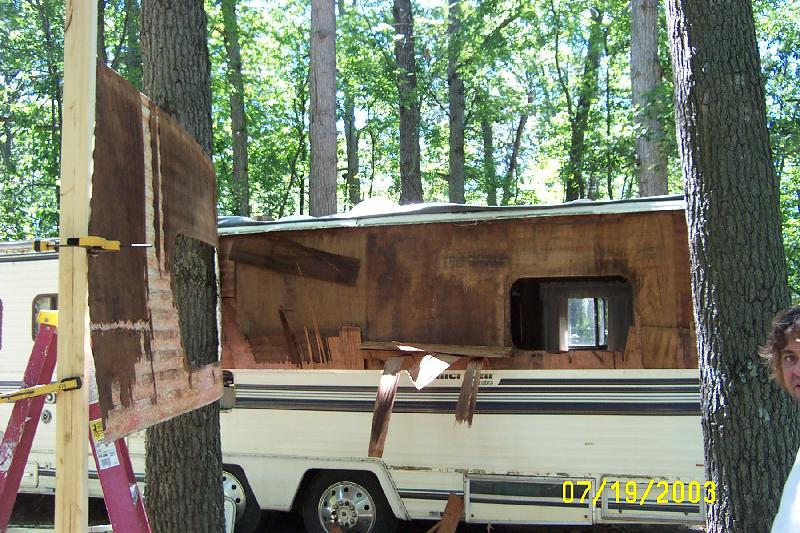
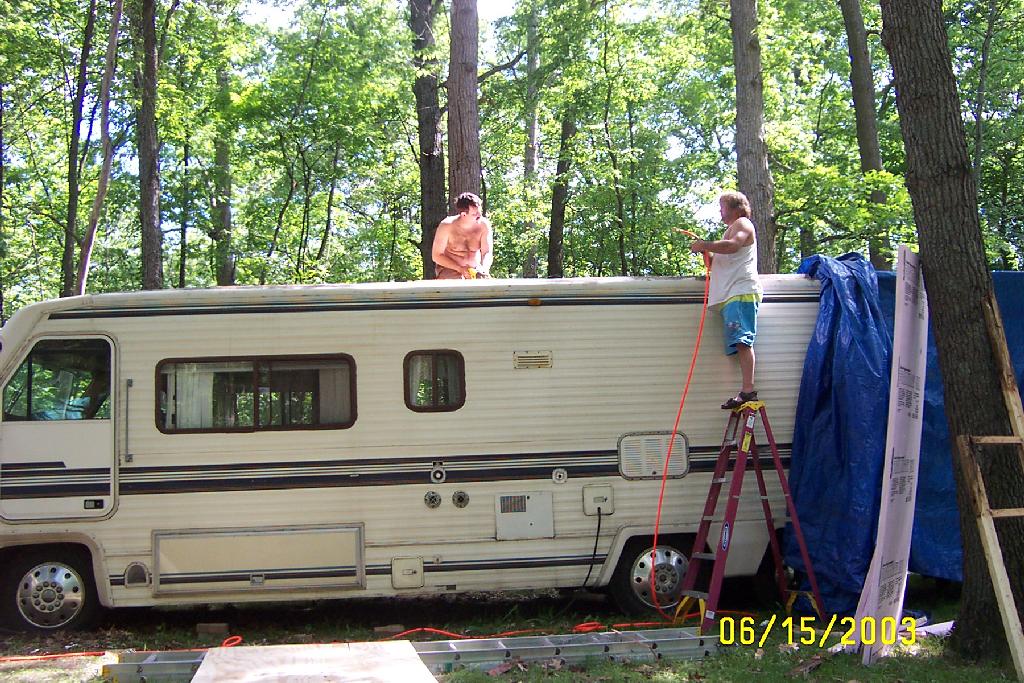
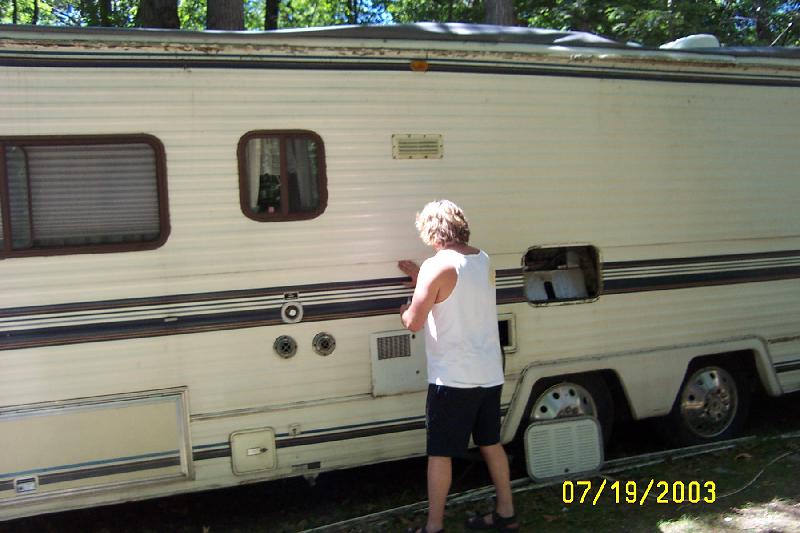
Notice the filon is secured to the Tree
Lower panel off
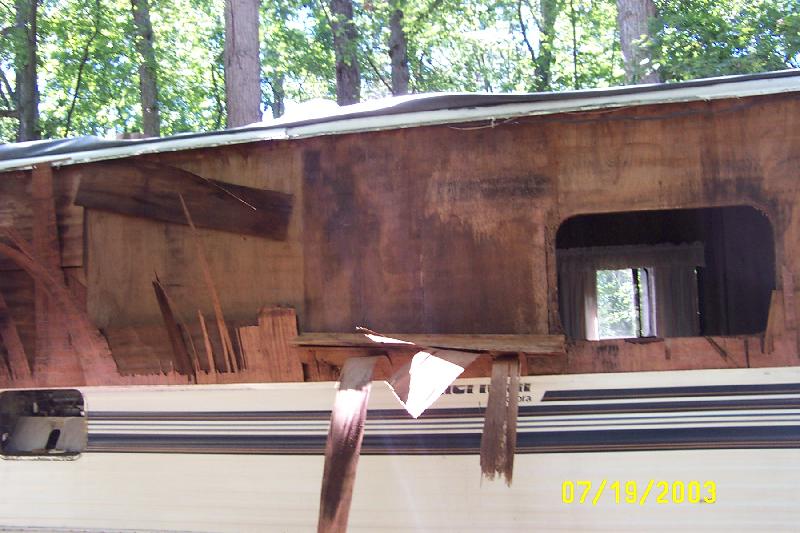
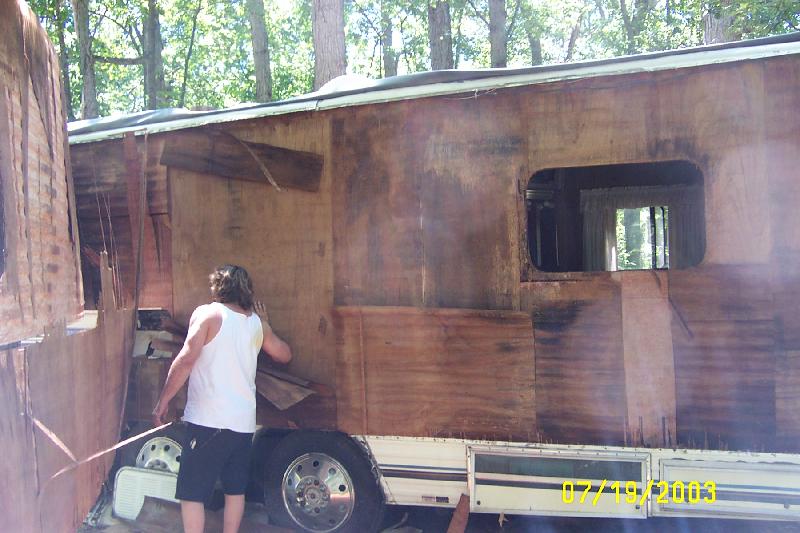
Scrap all the water soaked warped wood off everything.

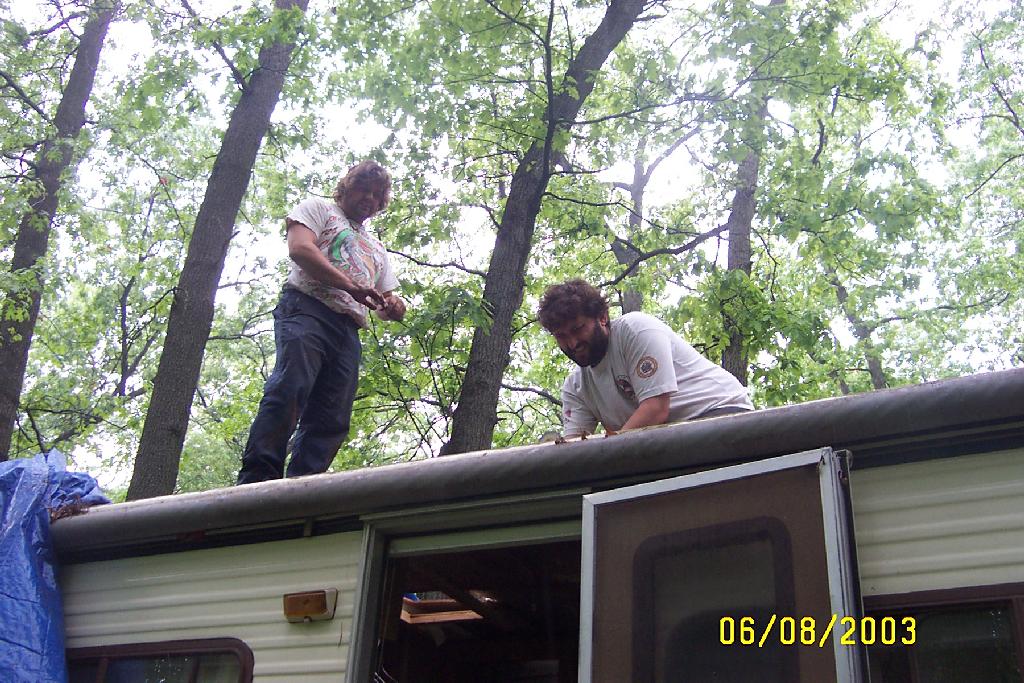
RV Master is concerned?

Little T looks worried Dad doesn't know what he is up against.
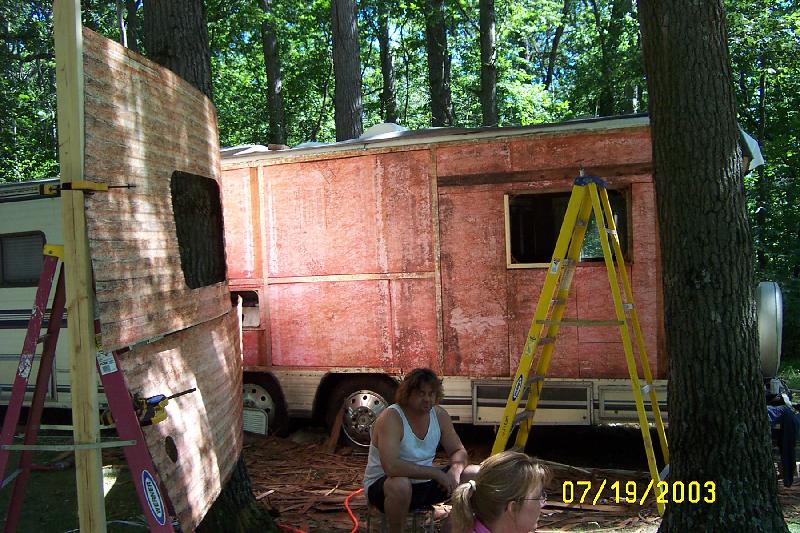
Wow this might be tougher then I thought.
All back together and solid as a Rock just need a little trimming and put the window back in.
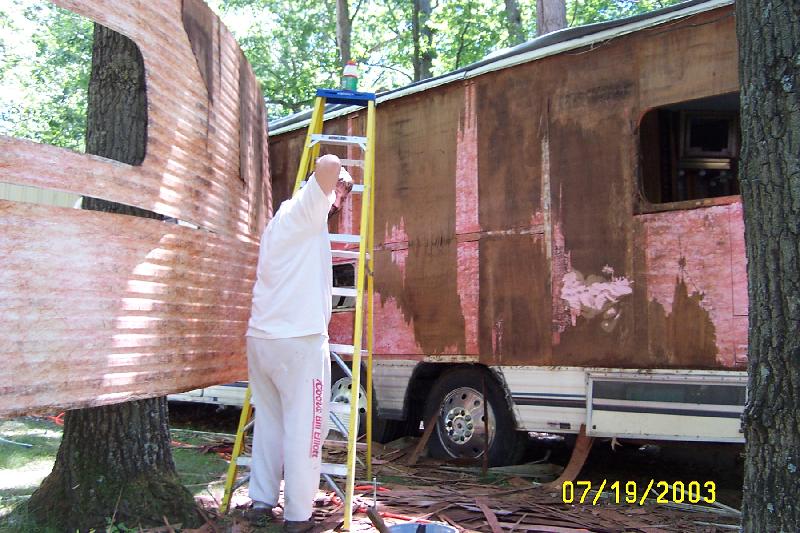
Cleaning off the bedroom wall in the RV.
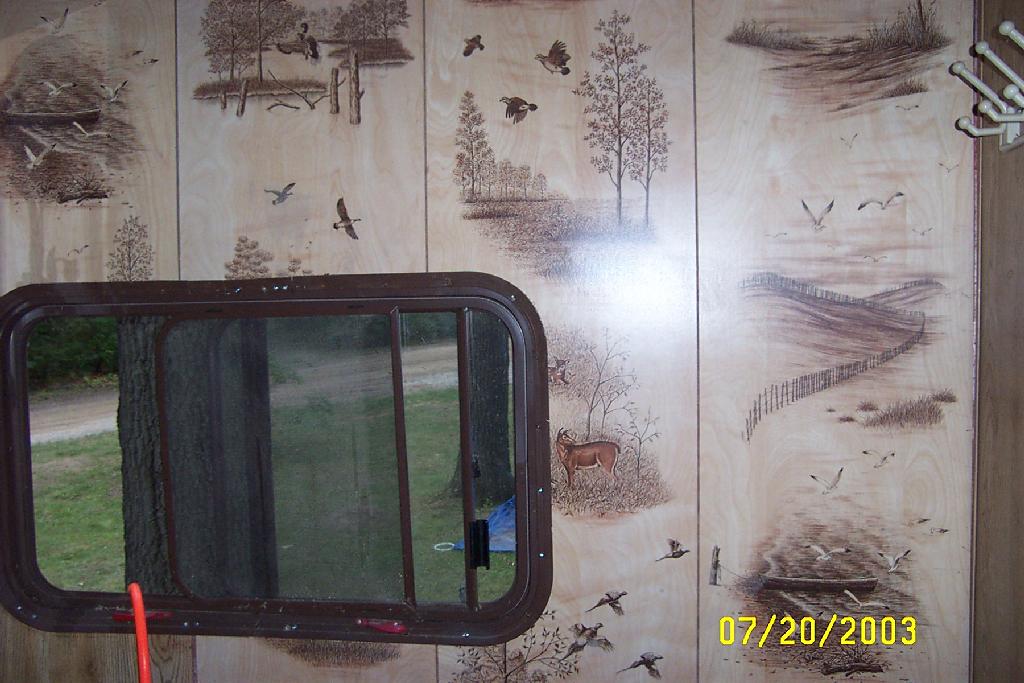
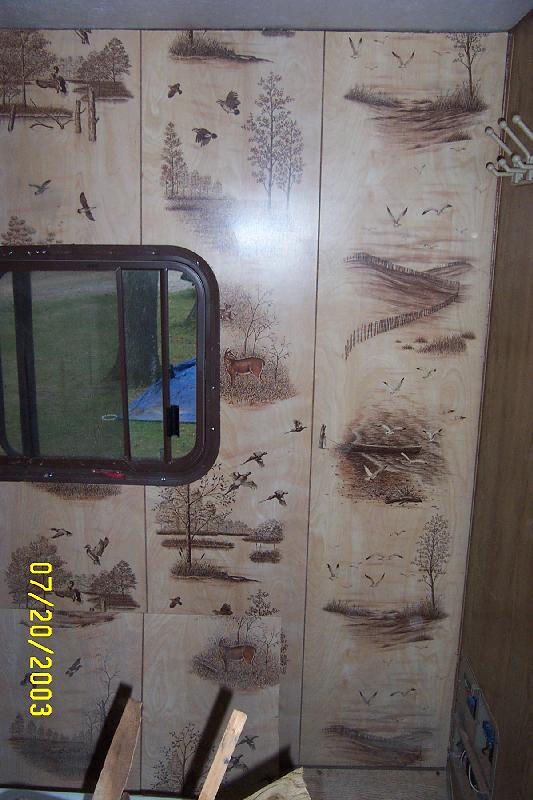
It's the Ducks no RV is complete with out the DUCKS!

Little T trying to scare the ducks.

RV looking good notice the rubber roof modeling is installed and side wall is replaced.
![]()
Well over 14 hours have been spent replacing brake lines and putting 30 feet of new brake line on the RV with new couplers and flare fittings and 7 leaks.
![]()
Few minor issues but all in all it was on the road and rolled OUT.
![]()
Ladder installed for the roof.
Steam Clean
Remove decals
Replace the rear shocks
Fix the hole in the air bags for front shocks.
![]()
Fix the Roof: Remove all the old aluminum roof with the kiss of death, Remove all the roof vents, satellite dish, TV antenna, refrigerator vent and stink pipe vents , remove all the old 3/8 plywood on the roof and back bedroom frame ceiling incluing the interior paneling and front room framed section including the interior paneling. Cut out the frame section in the front room, pull all the wires and tie them up, clean all the rotted wood out. Re-frame the front room by gluing paneling luon and 2x4 and 2x2 frame, gluing the frame and foam in place, drilling out the hole for the vent wires and other wires, setting the frame in place stapling & screwing the frame to place on the RV, and gluing 3/8 deck to the frame set in place. Create a support structure in the interior of the RV with supports so we can walk along the roof and it doesn't cave in. Strengthen up several sections of the rotted wood sections of the roof. Re-frame the back bedroom area by cut out the frame section in the bedroom, pull all the wires and tie them up, clean all the rotted wood out. Re-frame the bedroom by gluing paneling luon and 2x4 and 2x2 frame, gluing the frame and foam in place, drilling out the hole for the vent wires and other wires, setting the frame in place stapling & screwing the frame to place on the RV, and gluing 3/8 deck to the frame set in place. All the plywood from the rotted roof was removed and replaced and the vent holes for stink pipe, sunroof, ceiling vents, and refrigerator vent where cut out through the plywood. Connected power to all vents and lights in the RV. Clean all the crap off the aluminum wrap on the side and staples, tape all the seams of the plywood that was installed, tack down the aluminum wrap down, install the eight 1/2 feet by 40 foot of rubber on the roof with a water based glue. Cut the rubber in the vent holes connect all the vent wires and install all the vents with butyl tape 8x1 one inches sheet metal screws. Install the vent caps and seal everything with 501. Remove the side modeling under the wrap pull the rubber roof down screw the molding back into the wrap and cut the extra rubber off and seal with 501.
Replaced the TV antenna with a new one.
Cleaned all the roof vents
Remove and Replace the Refridge Vent
Removed and Replaced the skylight in the bathroom (new)
Installed bigger size TV.
Fixed the Hydraulic Jacks
Tested all the water systems, hot water heater, furnace, every component of the home.
Fixed the blower motor.
Fixed the radio in the dash
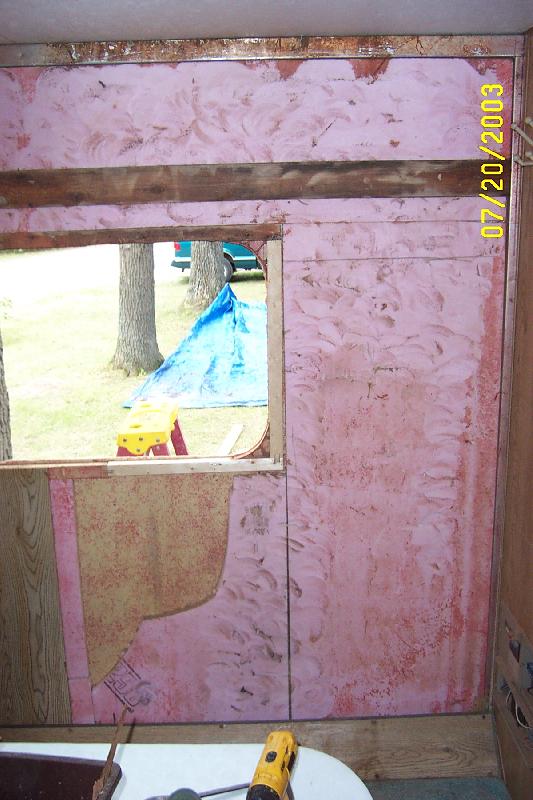
Fixed the sidewall:Remove the window in the bedroom in the RV, molding on the side of the RV, pull the filon back clean off the old rotted wood off the filon and side of the RV, Glue new luon to RV, Glue the Luon to filon, re-attach all moldings with butyl ,paneling on one wall of the RV down to the foam, clean all the foam and rotted wood in the bedroom off and glue new paneling in place, install window back in place, silicone and seal everything
Install the licenses plate.
Bleed Brakes on main axle
Run lights back
Check lugs
Check pressure on tires
Check rear end oil (80/90 Weight)
Regress all fittings (38) / Axle too
check belts
fix wipers
fix lights in dash
Gas leak
Fill LP
Fix Handle by driver door
Installed the door catches for the 2 back doors on the driver side.
Fix water box valve / hot water / Silicone the box.
Black Line disconnect
Fix Converter
Tie strap brake lines
Fix door lock (driver door)check value under sink
Balance passenger Rear and front tires
Awning is not working properly
Fixed the side door for entry into the RV.
Generator is working it was a loose wire around the points.
Connected the Antenna for the CB.
The LP gas T installed for the portable Grill.